I recently had a really lovely email conversation with Julie, from the UK. She found my website and was inquiring as to how I make my wet-felted caves that would be part of a play mat small world scene. She was interested in creating a cave because she thought it made a play mat more interactive. She is right! In my experience young children love putting small animals in and out of caves and it adds more scope for their imaginative play.
She said she was having trouble finding a source for how to create a cave on the internet so she inspired me to add to my series of how to create a play mat.
Here is how I create a cave attached to a play mat.
To start the process of making a cave for your play mat you first need to create the base. The base is your unfinished (as in, not wet felted yet) play mat! Below is the first stages of a local park I am designing. Decide where on your play mat you want your cave and what size it is going to be. A smaller cave will be more compact and less likely cave in! Excuse the pun!
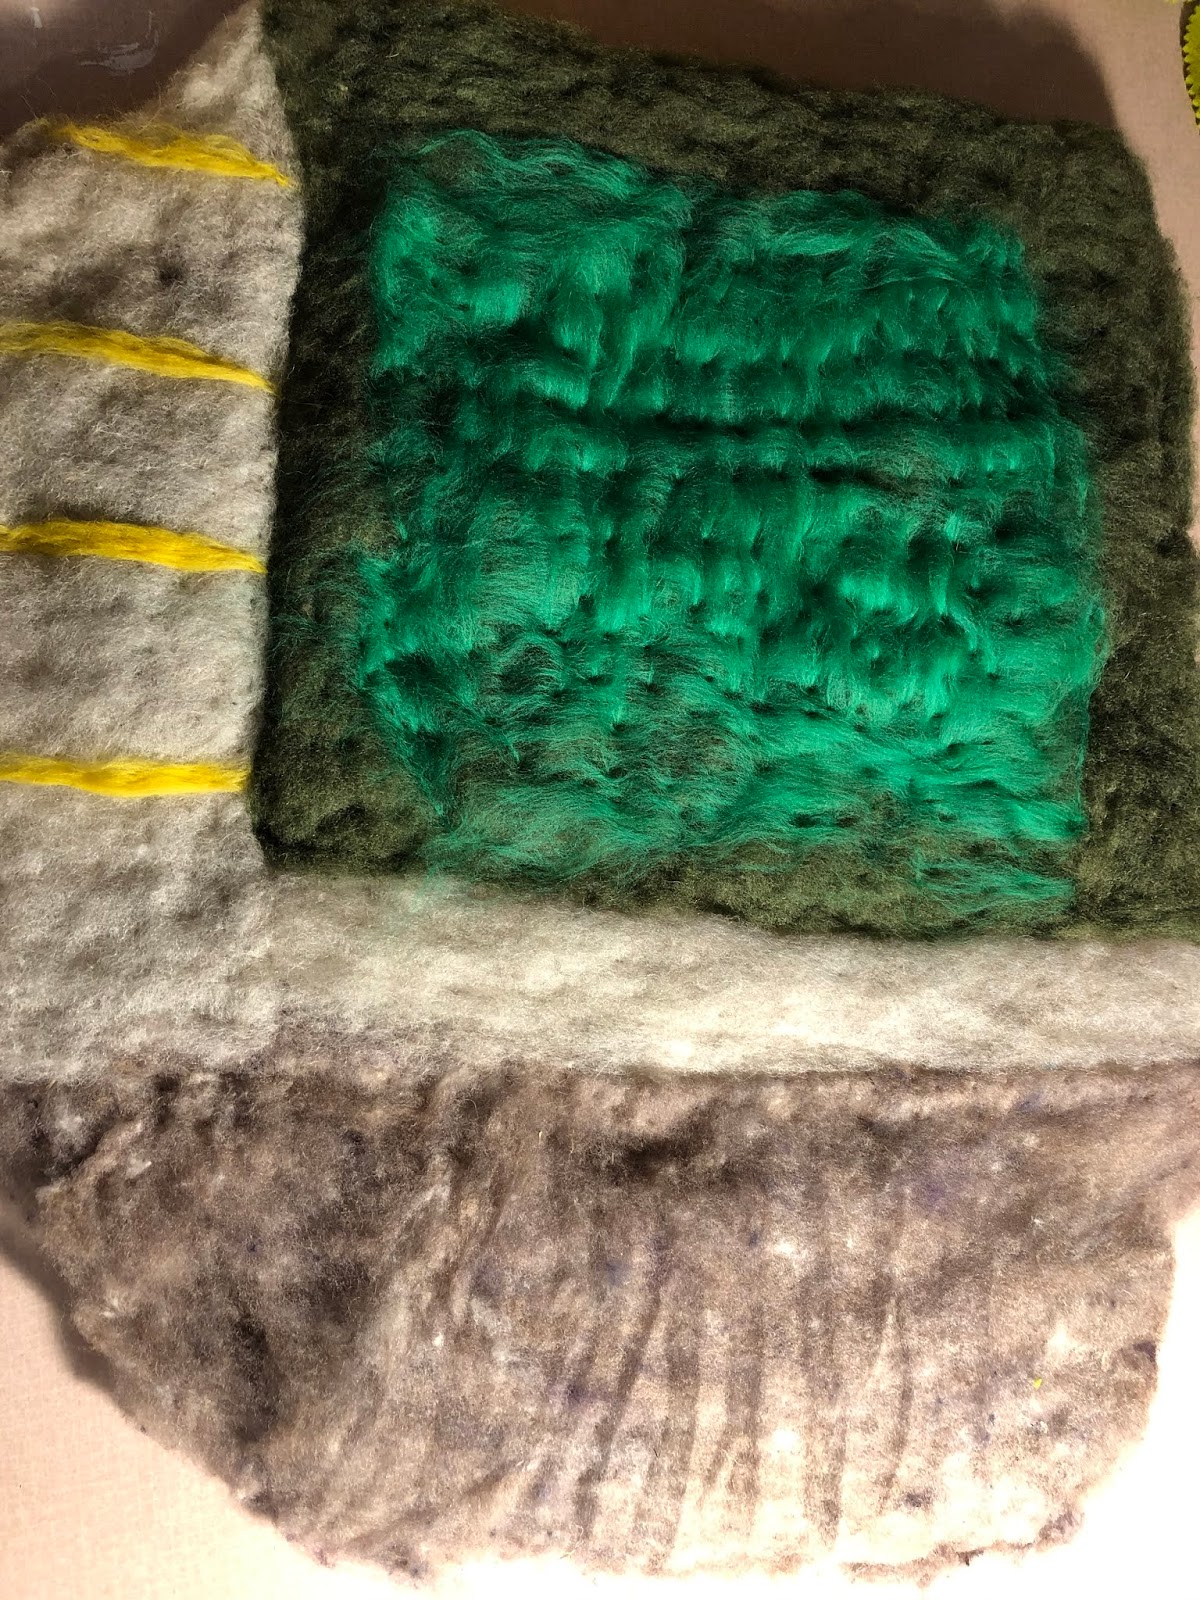
I'm going to place my cave in the corner of the grassy area of the park. To make a cave you need a resist. My resist is a piece of foam, completely wrapped in bubble wrap and taped together. The resist gives the cave it's form and is easy to remove during the process as it is soft and pliable.

If you have followed the process of creating a play mat up to this point (#1-5), you will remember that when you are making a play mat you need 2-3 layers of batting to make it thick and durable. You will need the same for your cave. Cover your cave with 2-3 layers of batting and with your needle, secure the edges to your play mat. Make sure the edges are smooth and flair out at the bottom onto the play mat. You want a nice, neat edge there so that you can felt the cave securely to your play mat. I would say at least an inch all the way around is good. If you do too much, you will be felting 6 layers of batting and that is a lot and can leave your mat bumpy in that area as well as it being hard to thoroughly felt that much wool. If you don't overlap it enough, however, you risk having a hole at the base of your cave.


When your cave is covered and secured to the play mat you can begin the wet-felting process. This is the same as when you felt your play mat. Hot water, soap and friction. Use plastic over top of the wool until you can feel the felting process beginning and the wool is shrinking. You will want to be gentle at first as it is easy to create wrinkles. Continue to smooth the cave with your hands.

I like to use the side of my hand to define the edge of my cave and ensure that it is felting well at the base.

When the cave is firm and the wool is not fuzzy you can plan where you want the door of your cave. You are going to cut a small hole. You will want to cut a smaller hole then you think you want as the wool can stretch and the opening gets bigger. Be careful not to cut into the base of the cave and into the actual play mat. That happened to me once and is, of course, disappointing.

Your opening might look like this.

Then you can go ahead and gently pull out the resist.

You can now continue with your wet felting process and felt the opening until it is smooth. Check the inside of the cave to make sure it has been well felted. If you feel it needs more, you can use your fingers to felt it inside. The more it is felted the sturdier your cave will be.

Who is going to live in your cave? As soon as someone moves in it makes all the difference!

Have fun with this process. Let me know if you have any questions. I love to do workshops and when we get clear of this virus I will definitely be planning some.
With the wet felting process you have to roll the mat yes? How do indo this with the cave in place?
ReplyDeleteHi, When I felt a cave, I do not roll, I only use my hands. Thx for your interest.
DeleteRay-Ann
Thanks for your quick response
ReplyDelete